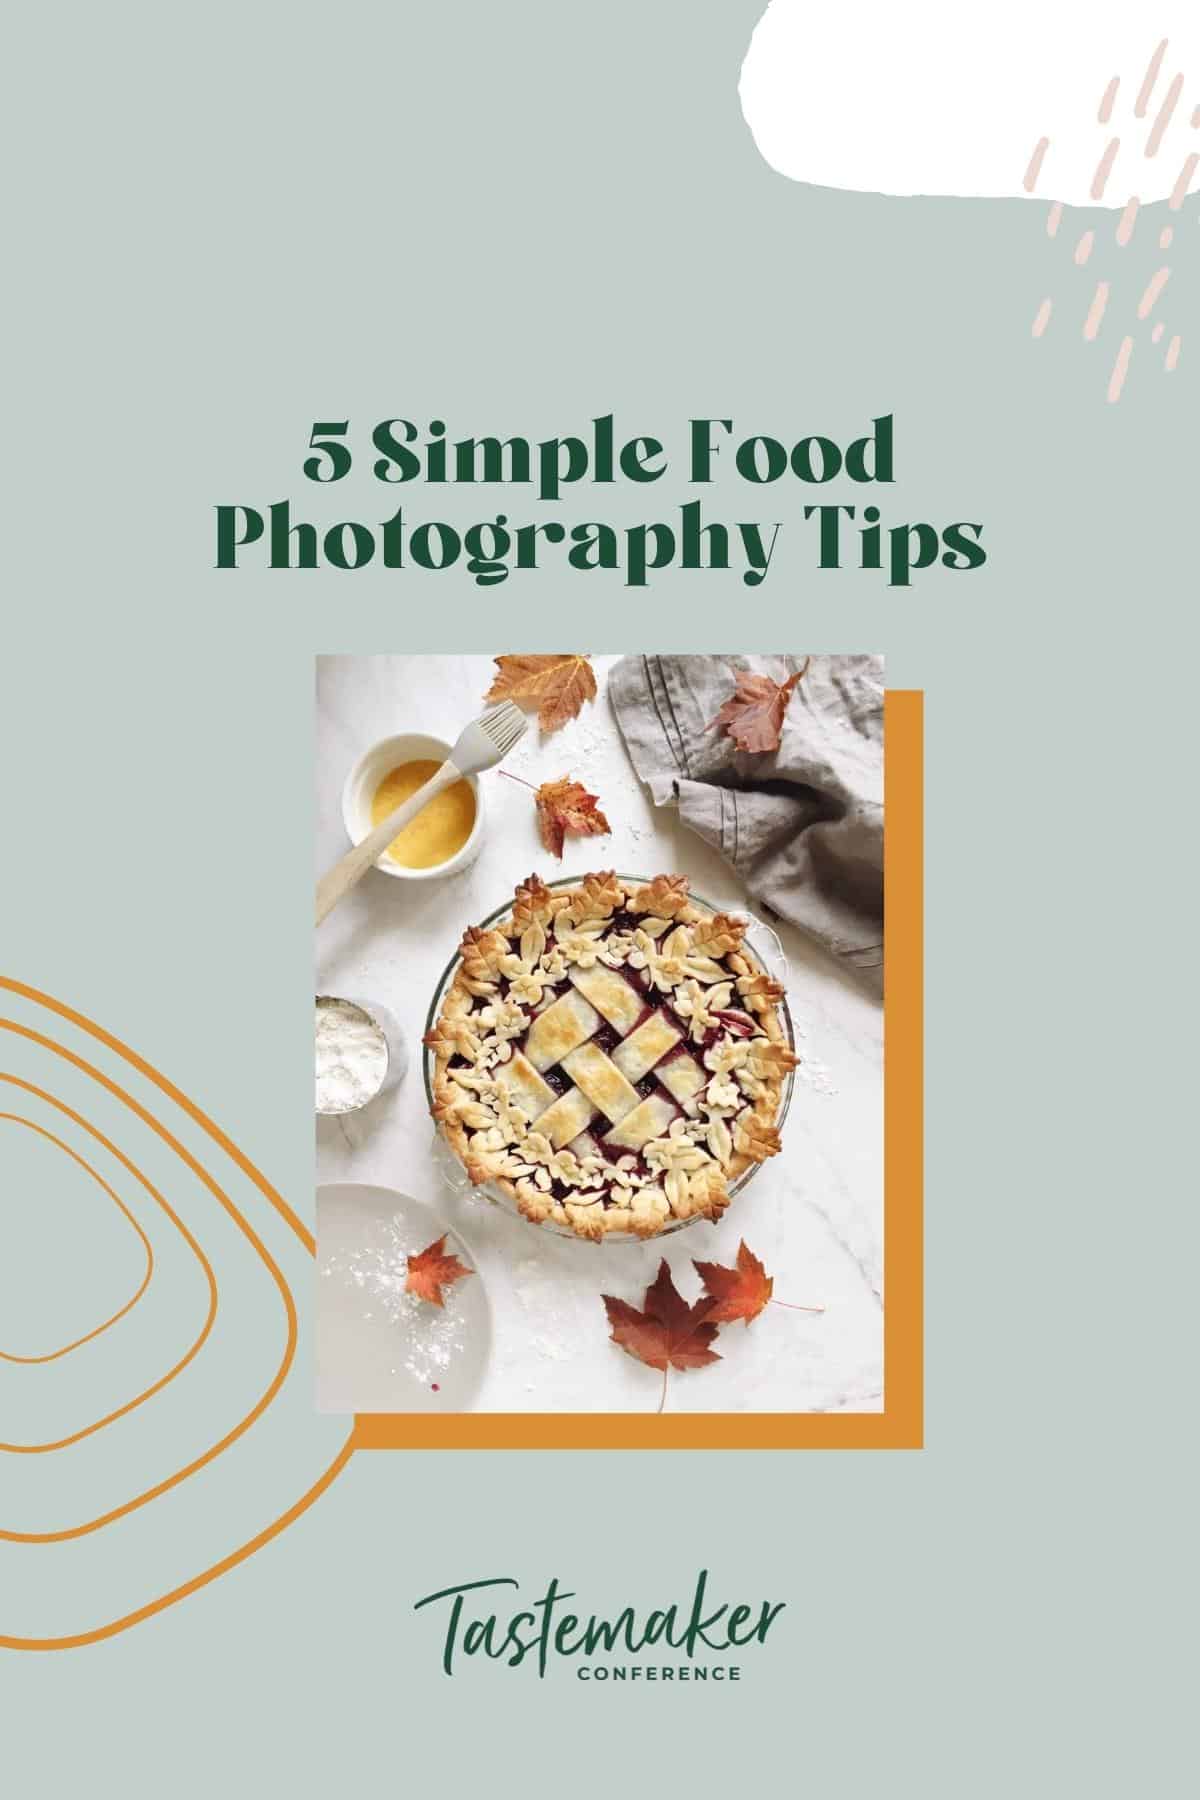
Food photography is vital to your blog and we are here to help you improve your skills! Here are 5 simple food photography tips to take your photos from boring to beautiful!
Hello! My name is Abbey. I am the author, food stylist, and photographer at my blog, The Butter Half, the world’s punniest food blog, and the founder of Tastemaker Conference! And today I am sharing 5 simple food photography tips.
Styling and shooting food is one of those passions that I didn’t know existed until recently, and I feel like it is my calling in life. So, I want to share the love and help you on your journey to creating beautiful and mouth-watering images of your own to take your brand and business to new heights.
Let’s get to it, shall we?
5 Simple Food Photography Tips
1. Set up the photo in the frame as you want it to look when it’s complete. That means, NO EXCESS CROPPING. Like, let’s all get shirts that say, “Can’t crop this.” Okay? Frame it correctly the first time around and then it will keep its quality and structure.
2. Shoot in natural light, or high quality artificial light. I’ve found the best time of day in my house is between 12-2 pm to shoot in the natural light. It’s bright and not overly harsh. It’s also a great idea to use a scrim on your window should you have direct light coming in that is making unfriendly hot spots and overexposing anything. An old white bed sheet, or thin white curtain will do the trick. Overcast and cloudy days are also a lovely time to shoot next to a window. Gives it that moody, angsty feel. (This is also a good time to turn on Alanis and eat your feelings.)
3. Use the photo grid on your screen. Your DSLR should have one in the viewfinder, or your camera phone. I have an iPhone, which takes amazing photos. One of the most important things to do is turn on the grid by going to Settings > Photos & Camera > Grid (slide on). This way you can center your photos perfectly and be more aware of using the rule of thirds when composing your shots. What’s the rule of thirds? It’s the way we frame and capture photos. Don’t be afraid to use negative space (keep the top or bottom blank) or make sure things are centered in the middle.
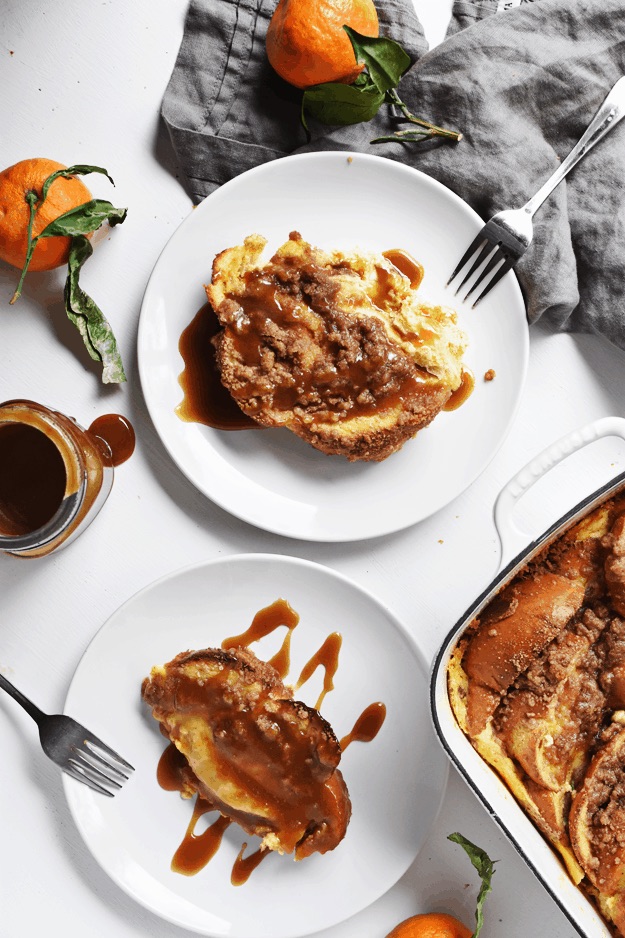
4. Shoot from overhead or at 45-degree angle. This is just my personal preference, but I think flat lay angles and pull-back shots look best with the most visual impact. Play around with the scale depending on the story you are trying to tell– shoot from higher above to include the entire scene if it’s a cozy lunch with friends. Get closer if there are beautiful details on the food that must to be seen.
5. Add a human touch. Food photos feel more relatable and personal when there is some human interaction in the photo. Delicately place you hand in the bottom of the frame, reaching for a napkin or utensil.
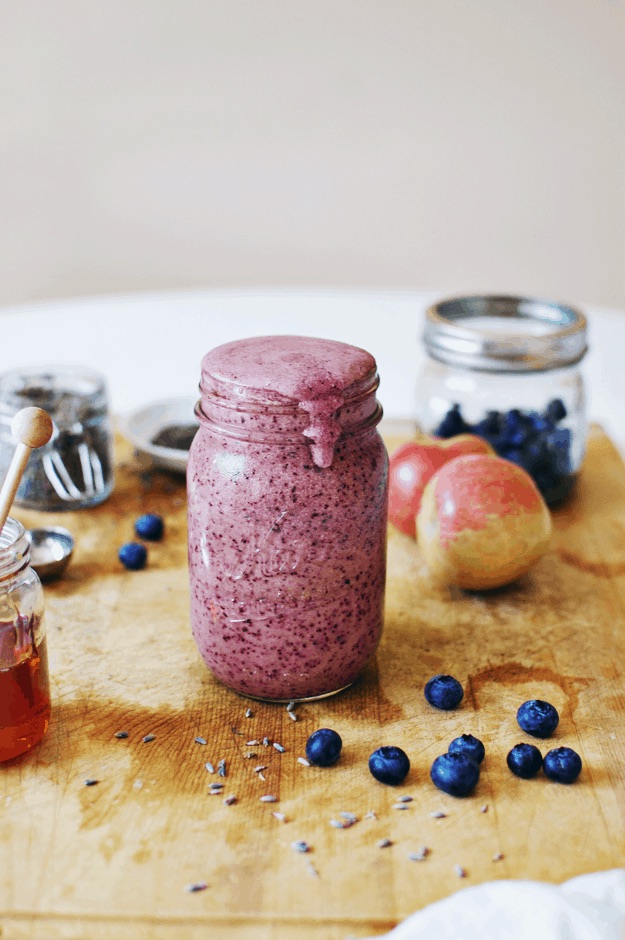
Were these tips useful? At Tastemaker Conference, you will leave with the know-how to create and edit beautiful images of your own! Don’t forget to enter your email here for your photography tutorial freebie!
Sign Up for our Newsletter Below to Never Miss any Insider Tips, Promotions, or Conference Deals!
